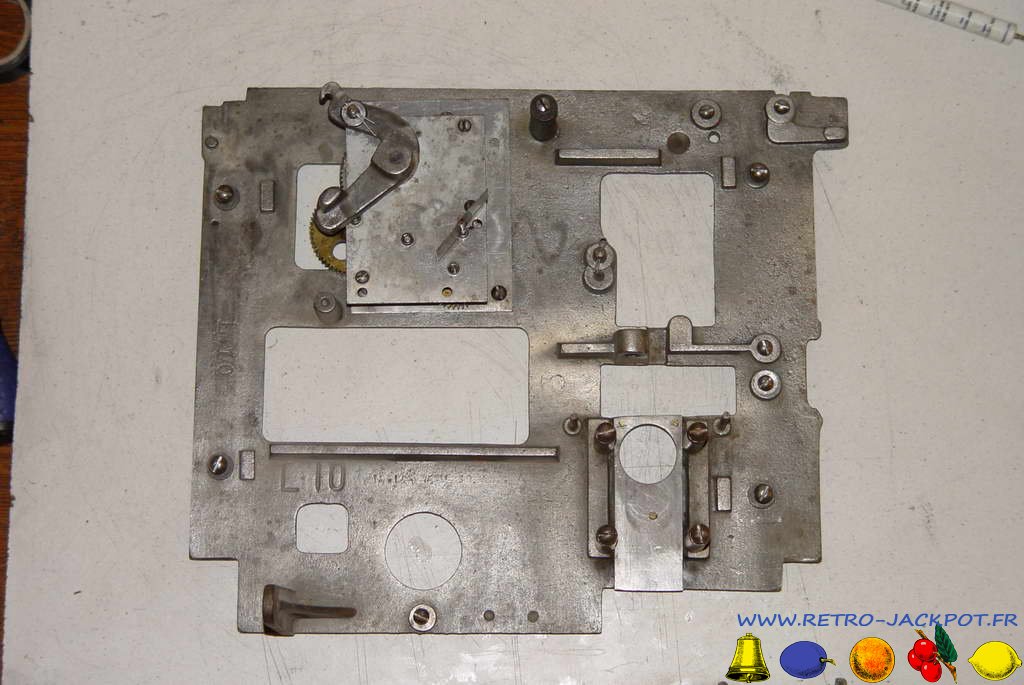
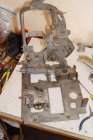
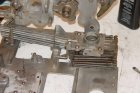
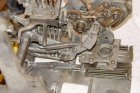
Après avoir nettoyer et brosser les différentes pièces mécanique, Voici les différentes étapes du remontage de cette machine.
![53_watling_blue_seal](/images/phocagallery/WATLING/Remontage_blue_seal/thumbs/phoca_thumb_m_53_watling_blue_seal.jpg)
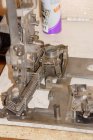
Le régulateur est remonté sur la base nue.
![54_watling_blue_seal](/images/phocagallery/WATLING/Remontage_blue_seal/thumbs/phoca_thumb_m_54_watling_blue_seal.jpg)
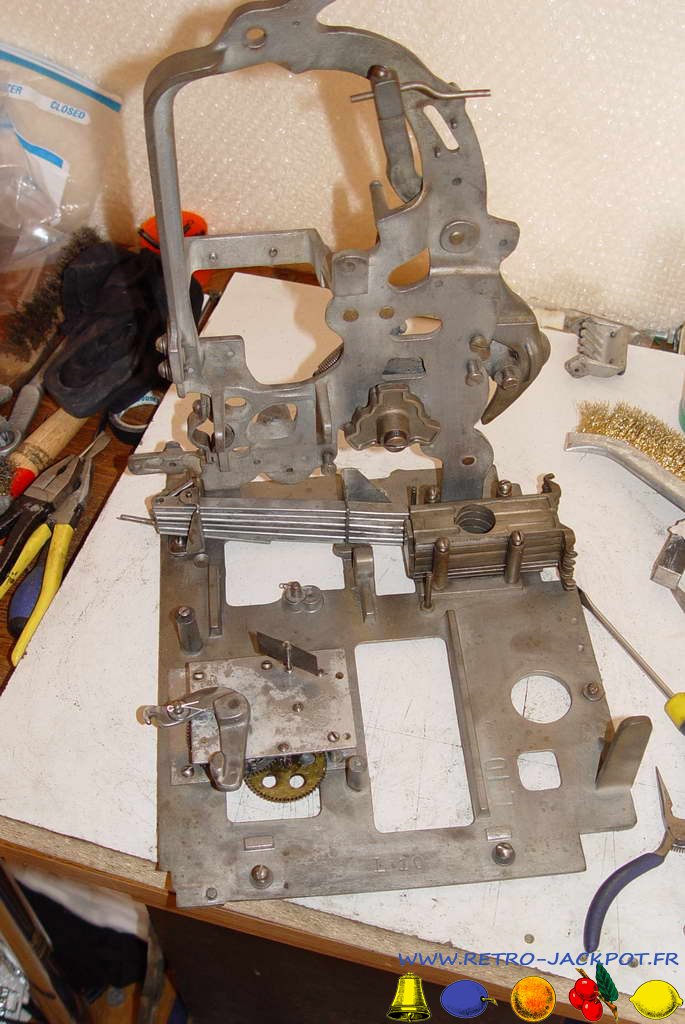
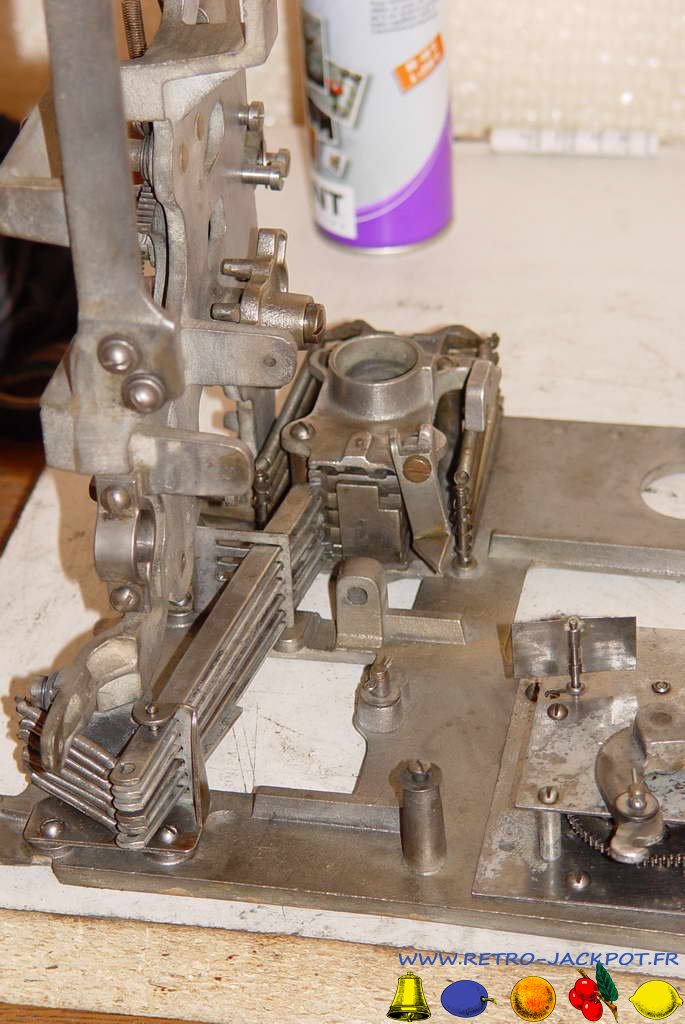
On installe le support de droite.
![55_watling_blue_seal](/images/phocagallery/WATLING/Remontage_blue_seal/thumbs/phoca_thumb_m_55_watling_blue_seal.jpg)
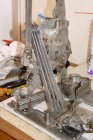
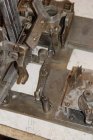
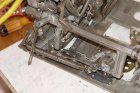
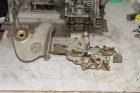
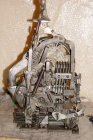
L'ensemble des tiroirs de payement
![56_watling_blue_seal](/images/phocagallery/WATLING/Remontage_blue_seal/thumbs/phoca_thumb_m_56_watling_blue_seal.jpg)
Notez les leviers placées à l'arrière de chaque tiroirs pour les bloquer.
![57_watling_blue_seal](/images/phocagallery/WATLING/Remontage_blue_seal/thumbs/phoca_thumb_m_57_watling_blue_seal.jpg)
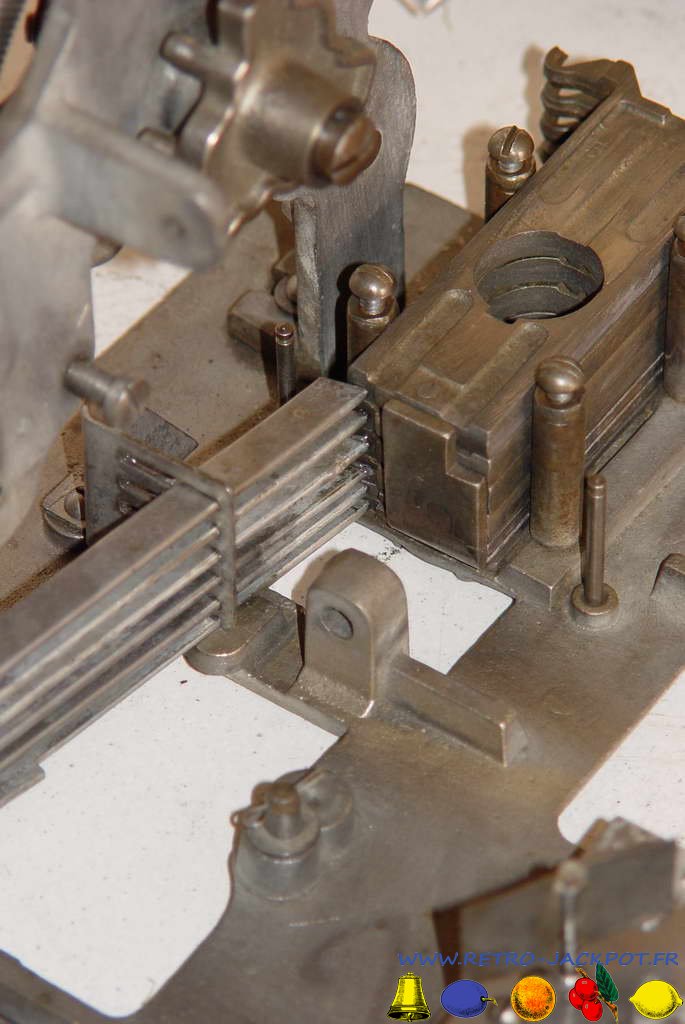
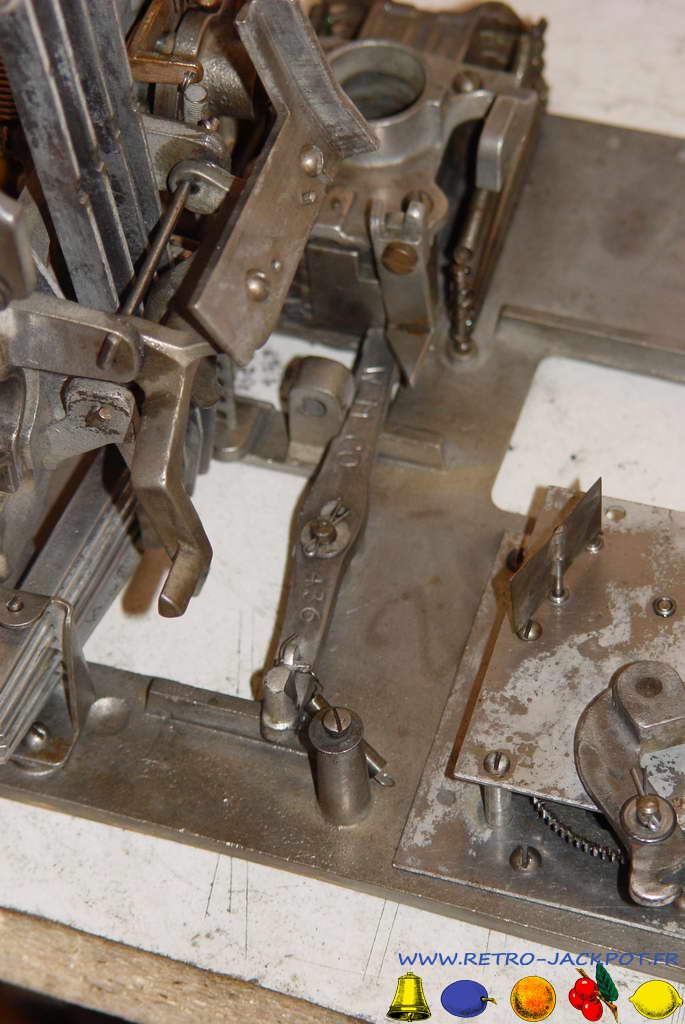
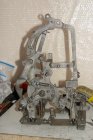
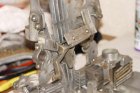
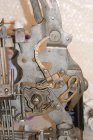
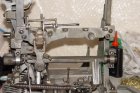
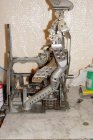
L'ensemble terminées
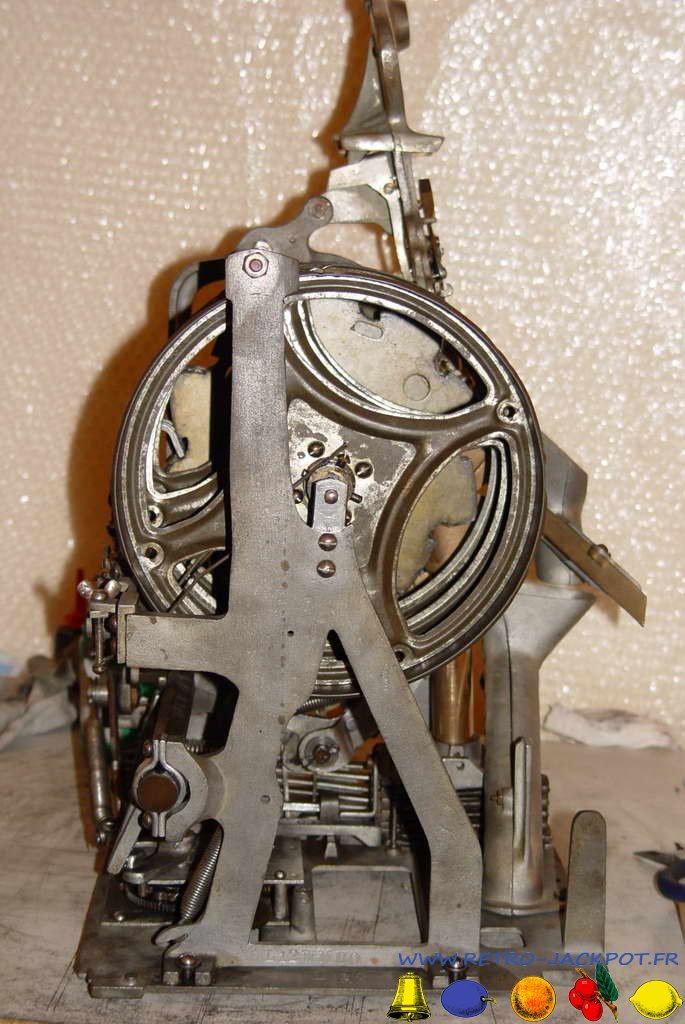
![58_watling_blue_seal](/images/phocagallery/WATLING/Remontage_blue_seal/thumbs/phoca_thumb_m_58_watling_blue_seal.jpg)
Vue arriere
![59_watling_blue_seal](/images/phocagallery/WATLING/Remontage_blue_seal/thumbs/phoca_thumb_m_59_watling_blue_seal.jpg)
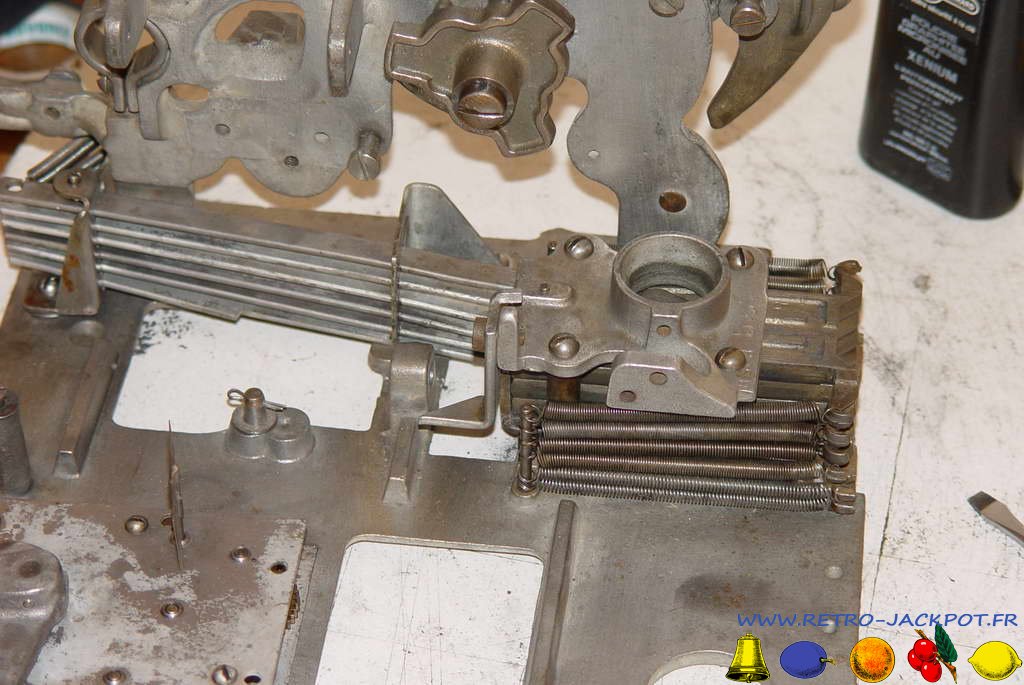
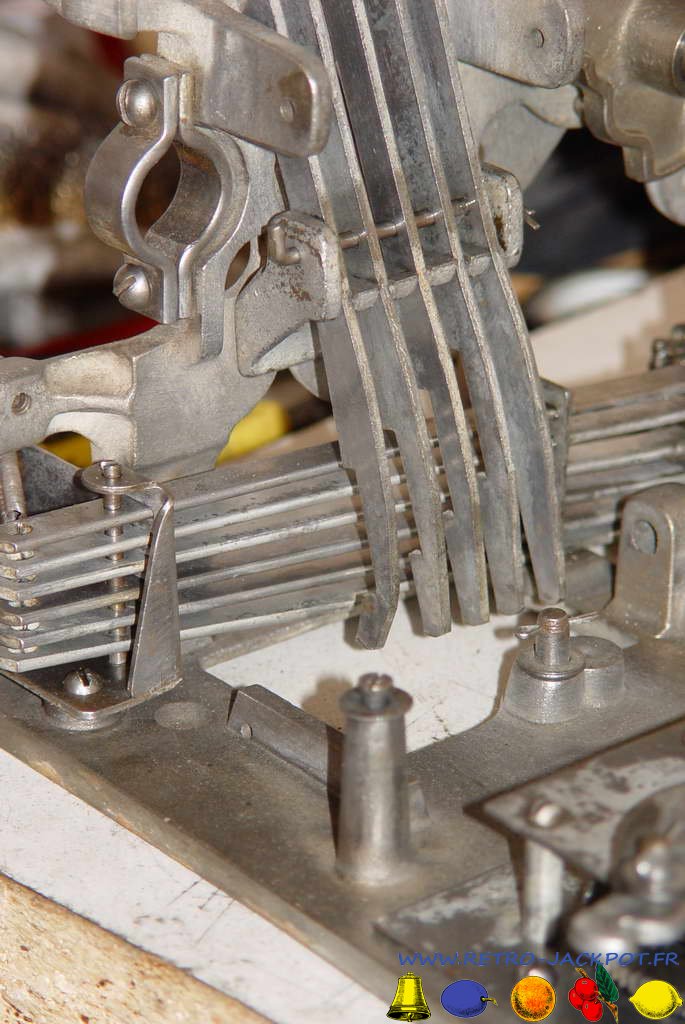
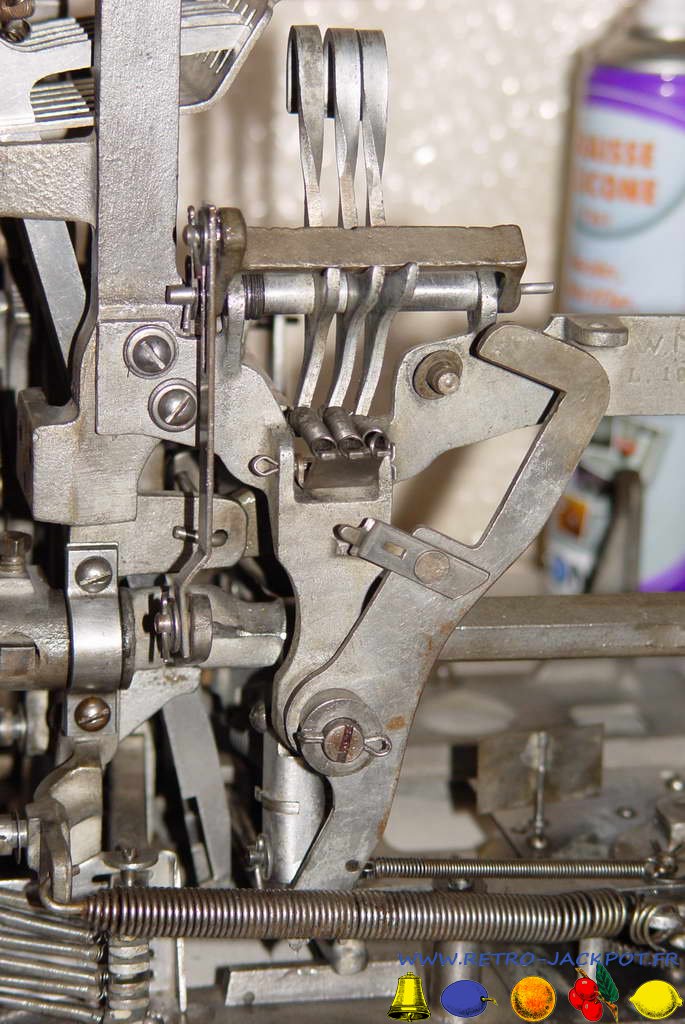
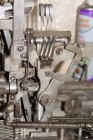
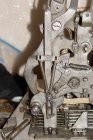
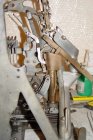
On installe l'ensemble des doigts palpeurs.
![60_watling_blue_seal](/images/phocagallery/WATLING/Remontage_blue_seal/thumbs/phoca_thumb_m_60_watling_blue_seal.jpg)
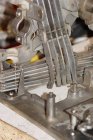
Attention, ils ont un ordre...
![61_watling_blue_seal](/images/phocagallery/WATLING/Remontage_blue_seal/thumbs/phoca_thumb_m_61_watling_blue_seal.jpg)
Puis le levier gerant les doigts palpeurs
![64_watling_blue_seal](/images/phocagallery/WATLING/Remontage_blue_seal/thumbs/phoca_thumb_m_64_watling_blue_seal.jpg)
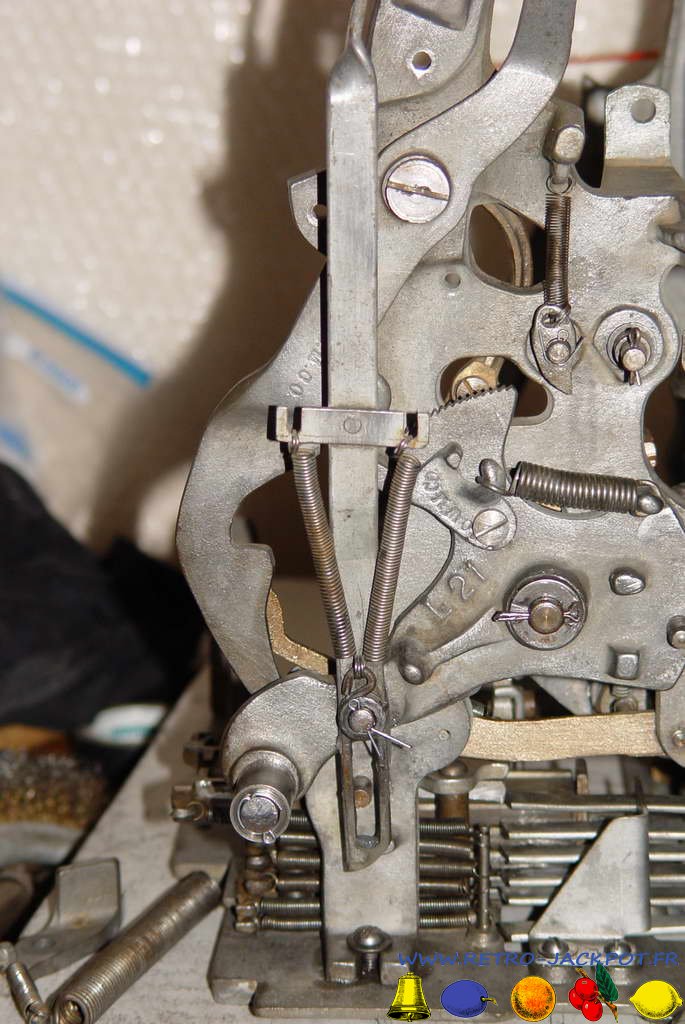
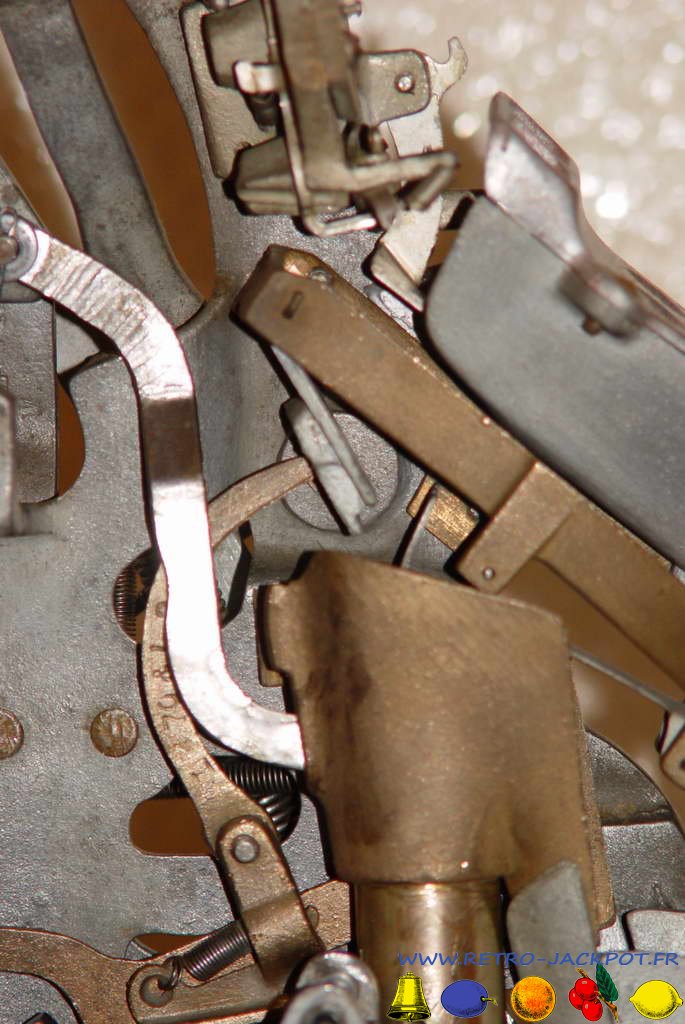
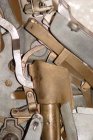
Le système de déviation des jetons. Un jeton sur 2...
![65_watling_blue_seal](/images/phocagallery/WATLING/Remontage_blue_seal/thumbs/phoca_thumb_m_65_watling_blue_seal.jpg)
.... va dans le tube de réserve ou dans le jackpot
![66_watling_blue_seal](/images/phocagallery/WATLING/Remontage_blue_seal/thumbs/phoca_thumb_m_66_watling_blue_seal.jpg)
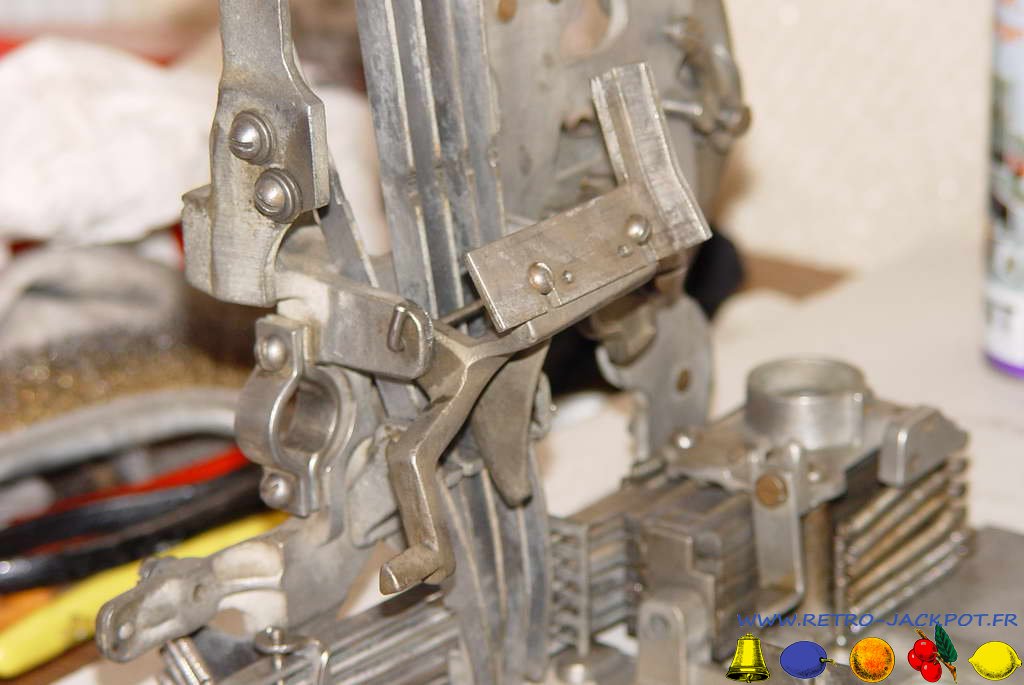
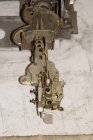
On installe le levier gérant les tirroirs de payement
![67_watling_blue_seal](/images/phocagallery/WATLING/Remontage_blue_seal/thumbs/phoca_thumb_m_67_watling_blue_seal.jpg)
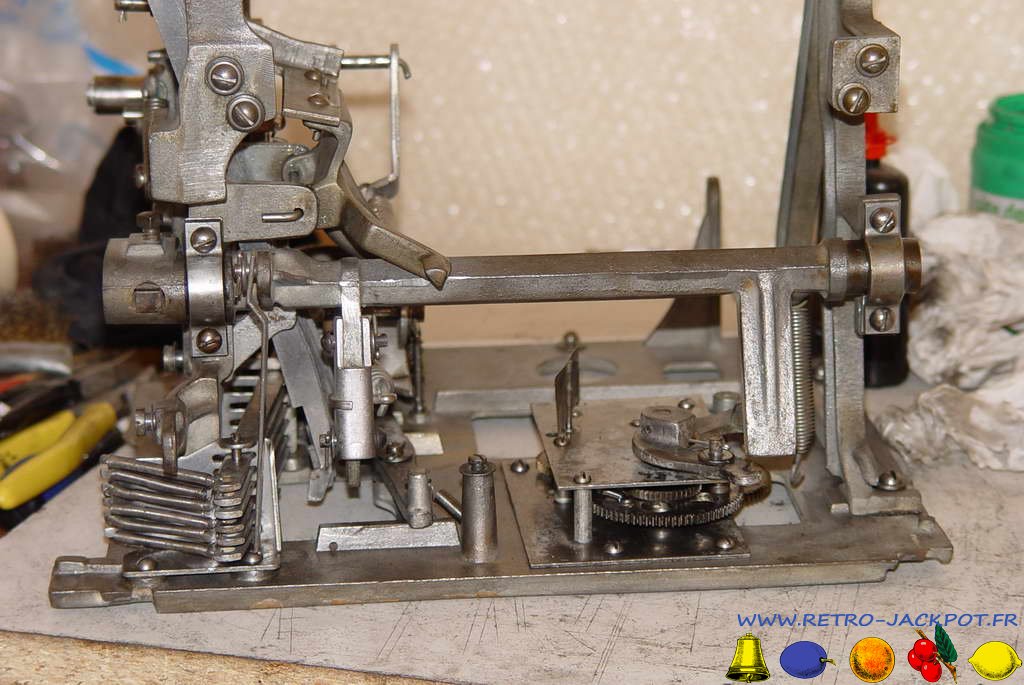
Puis, le côté gauche, ainsi que le levier horizontale (principale) est remis en place.
![68_watling_blue_seal](/images/phocagallery/WATLING/Remontage_blue_seal/thumbs/phoca_thumb_m_68_watling_blue_seal.jpg)
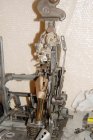
L'ensemble lanceur (kicker).
![70_watling_blue_seal](/images/phocagallery/WATLING/Remontage_blue_seal/thumbs/phoca_thumb_m_70_watling_blue_seal.jpg)
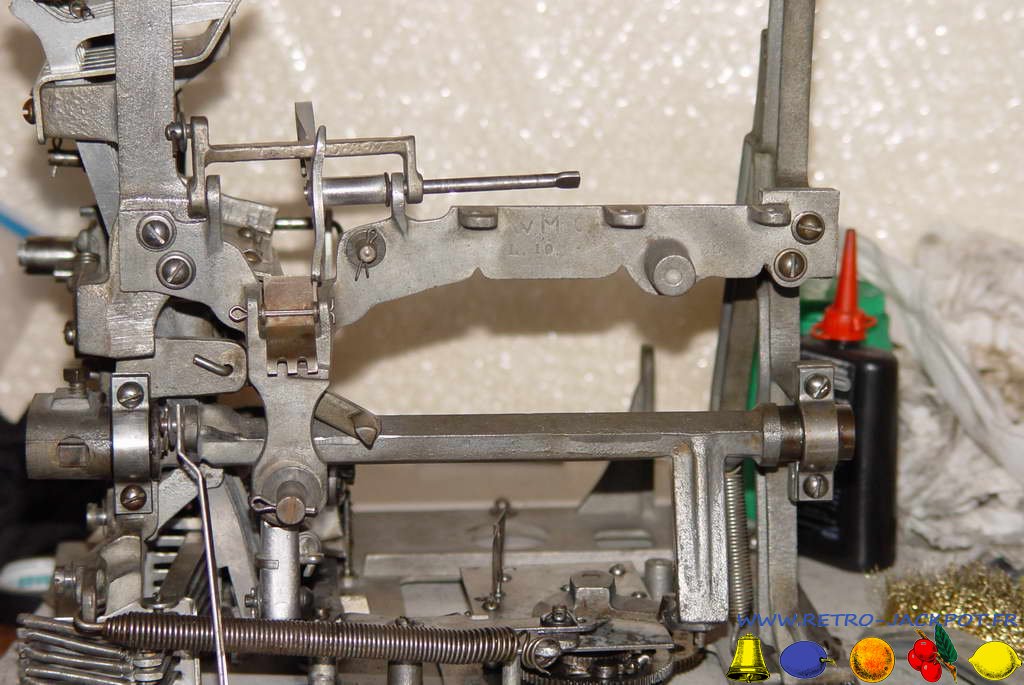
Quelques leviers plus tard !!
![71_watling_blue_seal](/images/phocagallery/WATLING/Remontage_blue_seal/thumbs/phoca_thumb_m_71_watling_blue_seal.jpg)
On installe l'ensemble des doigt stoppeurs des rouleaux.
![73_watling_blue_seal](/images/phocagallery/WATLING/Remontage_blue_seal/thumbs/phoca_thumb_m_73_watling_blue_seal.jpg)
suite et fin. Ce système est typiquement sur les Watling
![75_watling_blue_seal](/images/phocagallery/WATLING/Remontage_blue_seal/thumbs/phoca_thumb_m_75_watling_blue_seal.jpg)
Côté droite, on remet le levier de détection de jeton.
![76_watling_blue_seal](/images/phocagallery/WATLING/Remontage_blue_seal/thumbs/phoca_thumb_m_76_watling_blue_seal.jpg)
Puis le doigt éjecteur de jeton (lorsque le tube de réserve est trop plein)
![77_watling_blue_seal](/images/phocagallery/WATLING/Remontage_blue_seal/thumbs/phoca_thumb_m_77_watling_blue_seal.jpg)
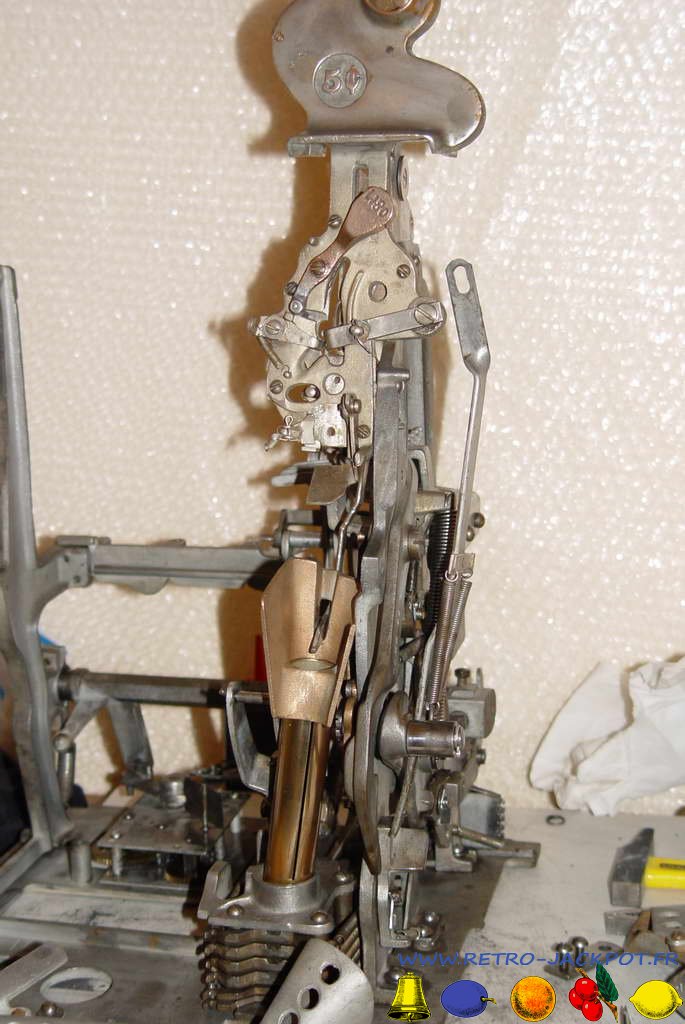
L'ensemble entrée de jeton (goosneck)
![78_watling_blue_seal](/images/phocagallery/WATLING/Remontage_blue_seal/thumbs/phoca_thumb_m_78_watling_blue_seal.jpg)
Vue arrière.
![79_watling_blue_seal](/images/phocagallery/WATLING/Remontage_blue_seal/thumbs/phoca_thumb_m_79_watling_blue_seal.jpg)
Le goosneck est installé ainsi que le tube de réserve de jetons..
![80_watling_blue_seal](/images/phocagallery/WATLING/Remontage_blue_seal/thumbs/phoca_thumb_m_80_watling_blue_seal.jpg)
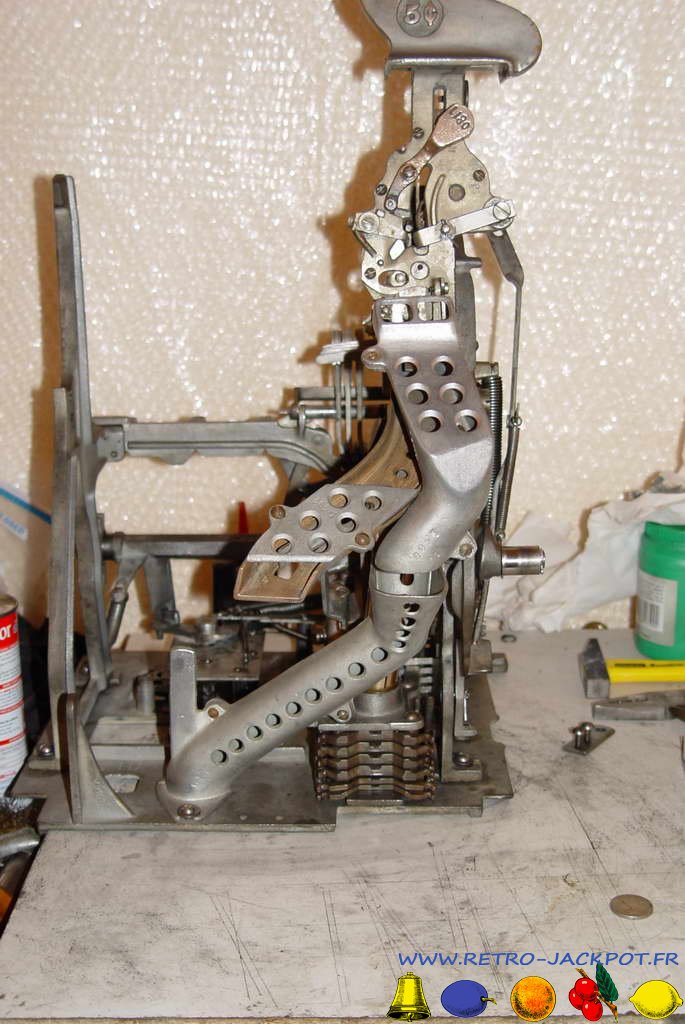
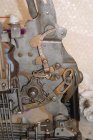
Enfin, l'ensemble d'aiguillage des jetons vers la caisse ou le jackpot.
![81_watling_blue_seal](/images/phocagallery/WATLING/Remontage_blue_seal/thumbs/phoca_thumb_m_81_watling_blue_seal.jpg)
Vue de côté..
![83_watling_blue_seal](/images/phocagallery/WATLING/Remontage_blue_seal/thumbs/phoca_thumb_m_83_watling_blue_seal.jpg)
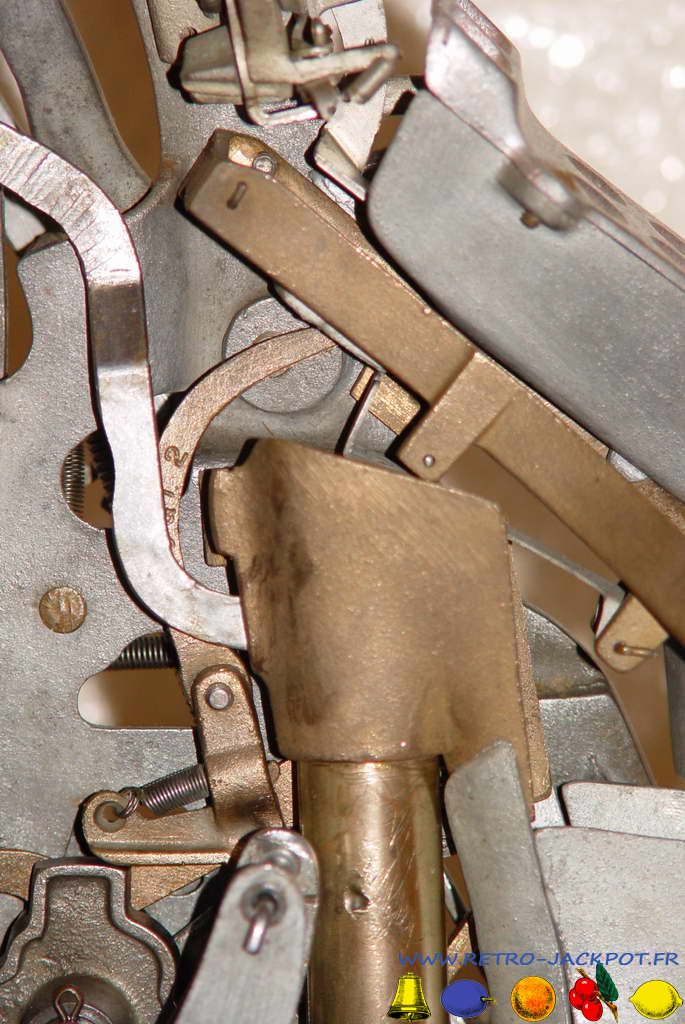
Vue du doigt qui permet de dévier les jetons (1 sur 2) entre le jackpot...
![84_watling_blue_seal](/images/phocagallery/WATLING/Remontage_blue_seal/thumbs/phoca_thumb_m_84_watling_blue_seal.jpg)
ou vers le tube de réserve.
![90_watling_blue_seal](/images/phocagallery/WATLING/Remontage_blue_seal/thumbs/phoca_thumb_m_90_watling_blue_seal.jpg)
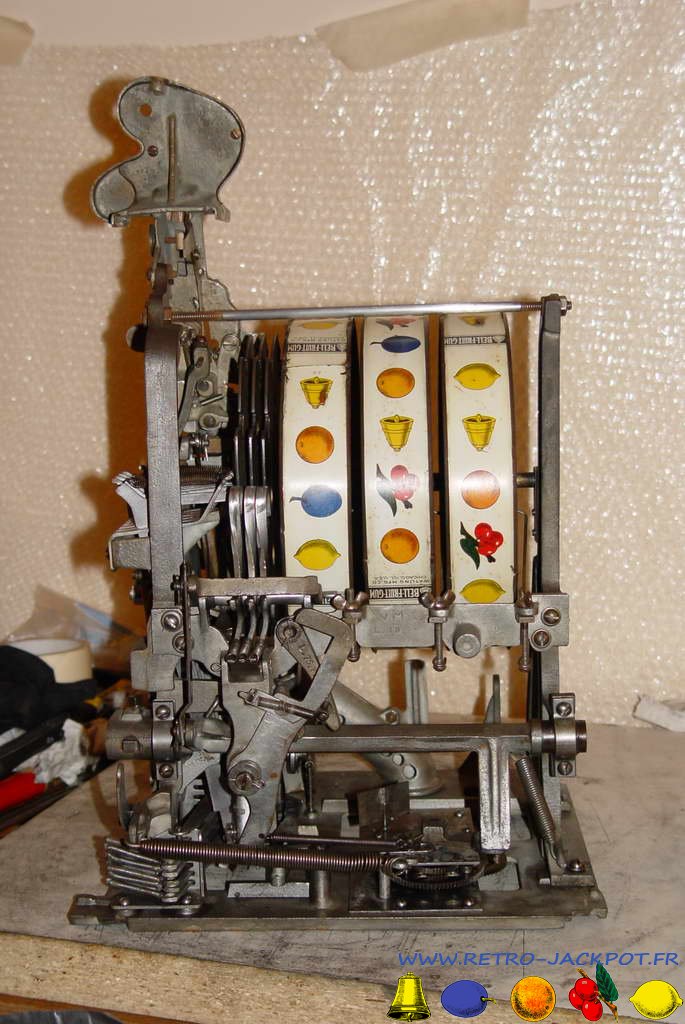
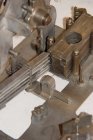
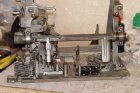
Les rouleaux sont installés.
![91_watling_blue_seal](/images/phocagallery/WATLING/Remontage_blue_seal/thumbs/phoca_thumb_m_91_watling_blue_seal.jpg)
Et enfin le levier désembrayeur (pas obligatoire)
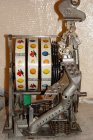
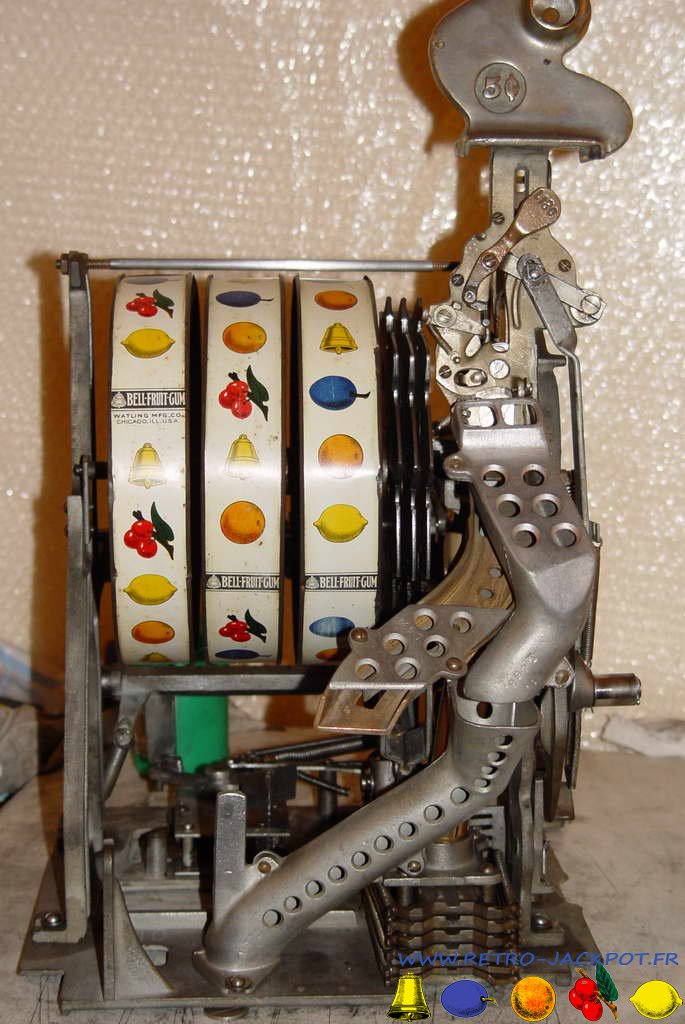
![92_watling_blue_seal](/images/phocagallery/WATLING/Remontage_blue_seal/thumbs/phoca_thumb_m_92_watling_blue_seal.jpg)
C'est fini !!